We’ve embedded a video overview demonstrating how the “Audio” feature works below. If you prefer step-by-step screenshots, you can find those below the video.
When you first add an “Audio” feature page, you’ll notice you can choose a Page name. This is the name that will appear on the menu to identify this page. By default, it’ll be set to “Audio,” but you can set a custom name like “Messages” if you would like.
To begin adding content, click the blue + icon.

Next, you’ll be asked to set a playlist title. This can be helpful with organization if you like to maintain several different series of messages. If you’d like them all in the same list, you can simply set the title to “Audio” or “Messages” and then proceed by clicking “OK.”
If you’d like, you can also set a cover image by clicking “Add a picture,” but this is completely optional.

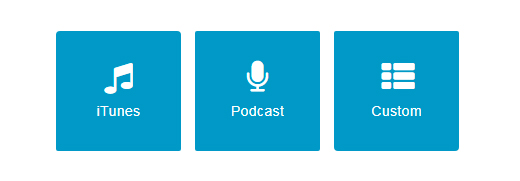
The next screen will present you with a few options for audio sources:

iTunes: This option will allow you to search iTunes library by Artist, Album, or Title for content.
Podcast: If you have a podcast set up in iTunes format, you can simply enter the feed URL here and the app will pull in all content from the feed.
Custom: If you have .mp3 files hosted elsewhere, such as a website, you can paste in the direct link to the file here and add it to your app’s audio player.

