Widgets are small blocks of content that you can add to your website to make it more interactive and functional. They can be anything from headings, text, images, videos, buttons, and more.
In this tutorial, We will show you how to use some of the basic widgets for your website. You will learn how to:
A section is a container that holds all the widgets that you want to use for your website. To add a section, follow these steps:
On the center of your screen, you can click on the plus (+) icon that is inside a dashed box to add a section.
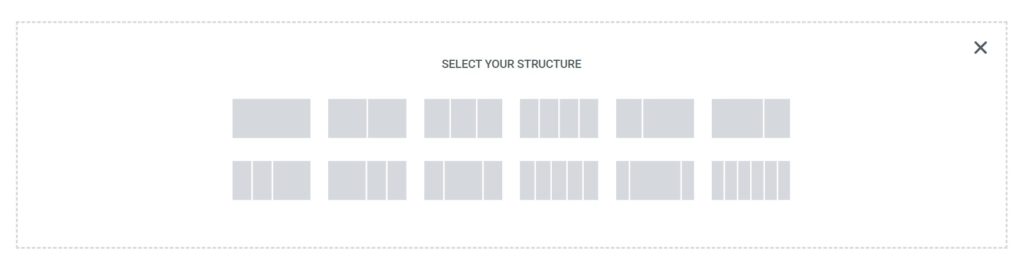
2. This will give you an option to select how many columns you want in the section. Select the option you prefer.
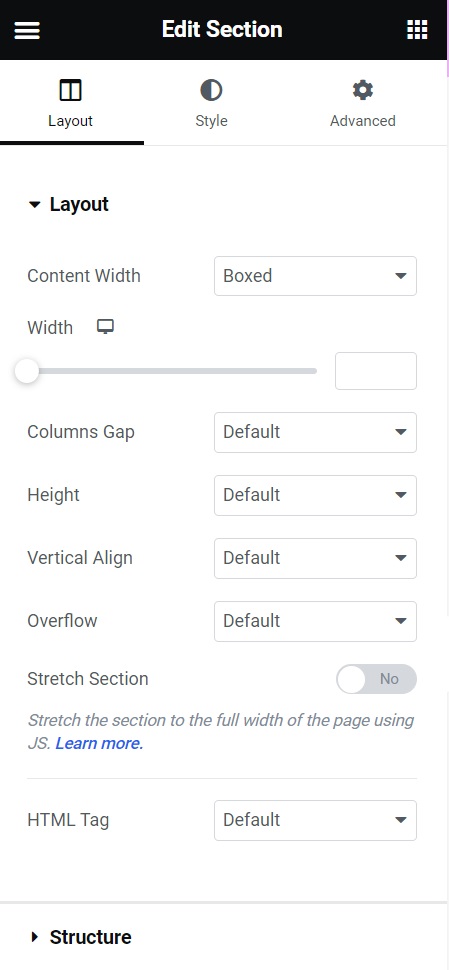
2. Once you have added the section, an options panel at the left hand side of your screen will appear, this is where you can change settings of your section like width, height, background color and a lot more.
Using the Heading Widget
The heading widget is used to create titles for your website. To use the heading widget, follow these steps:
On the left side of your screen, click on the Headingwidget and drag it to the section that you want to use it in.
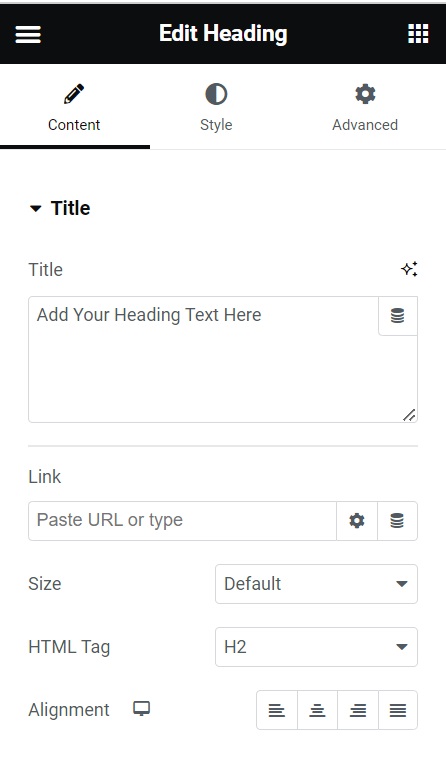
On the left panel, you can change the text of the heading by typing in the Text field. You can also add a link to the heading by clicking on the Link field and entering the URL.
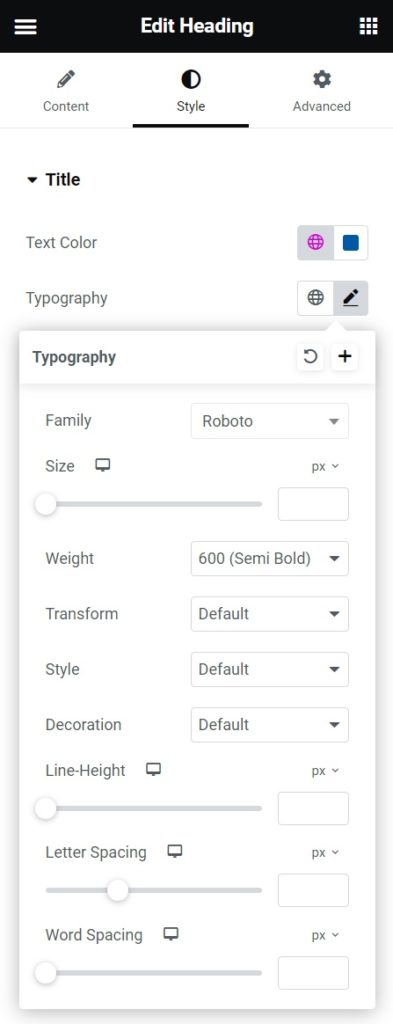
3. To change the style of the heading, click on the Styletab on the left panel. Here you can change the text color, alignment, and typography. Typography allows you to change the font size, family, weight, style, and more.
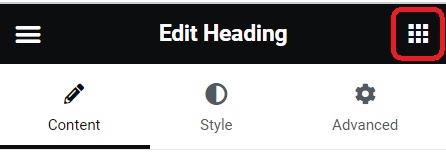
4. To go back to the widgets list, click on the widget icon at the top of the left panel.
Using the Text Editor Widget
The text editor widget is used to write body texts for your website. To use the text editor widget, follow these steps:
On the left side of your screen, click on the Text Editor widget and drag it to the section that you want to use it in.
On the left panel, you can write your text in the Text field. You can also format your text using the toolbar above the field. You can bold, italicize, underline, align, indent, bullet, and number your text. You can also add links, images, and videos to your text using the icons on the toolbar.
3. To change the style of the text, click on the Style tab on the left panel. Here you can change the text color, typography, and text shadow just like what we did with the headings widget.
Using the Image Widget
The image widget is used to insert images to your website. To use the image widget, follow these steps:
On the left side of your screen, click on the Image widget and drag it to the section that you want to use it in.
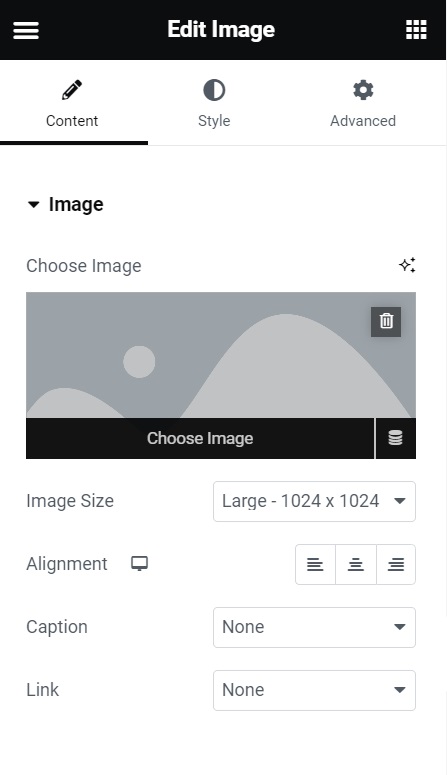
On the left panel, you can change the image by clicking on the Choose Imagebutton. This will open a media library where you can select or upload an image.
To change the style of the image, click on the Style tab on the left panel. Here you can change the size, alignment, border, border radius, and box shadow of the image. You can also apply filters, opacity, and hover effects to the image.
Using the Video Widget
The video widget is used to embed videos to your website. To use the video widget, follow these steps:
On the left side of your screen, click on the Video widget and drag it to the section that you want to use it in.
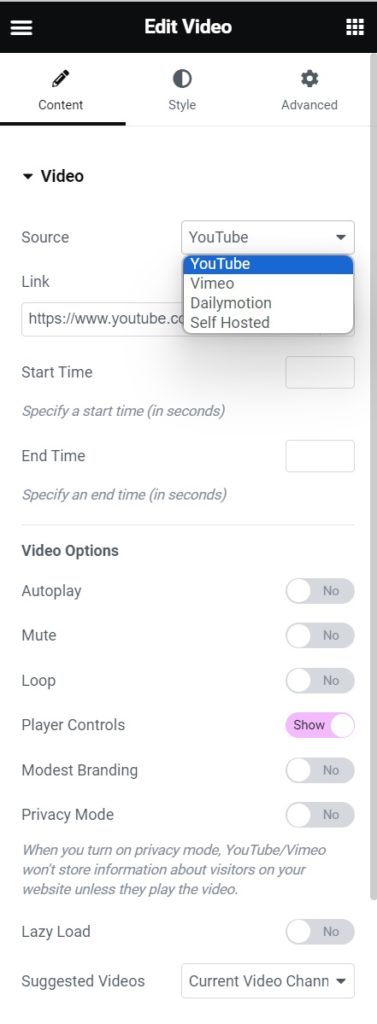
On the left panel, you can choose the source of the video. You can either use an external video from YouTube, Vimeo, or Dailymotion, or use a self-hosted video that you uploaded to your website.
If you use an external video, you can paste the video URL in the Link field. You can also change the aspect ratio, autoplay, loop, mute, and controls of the video.
If you use a self-hosted video, you can click on the Choose File button to select or upload a video file. You can also change the poster image, autoplay, loop, mute, and controls of the video.
5. To change the style of the video, click on the [Style] tab on the left panel. Here you can change the border, border radius, and box shadow of the video.
Using the Button Widget
The button widget is used to create clickable links to your website. To use the button widget, follow these steps:
On the left side of your screen, click on the Button widget and drag it to the section that you want to use it in.
On the left panel, you can change the text of the button by typing in the Text field. You can also add a link to the button by clicking on the Link field and entering the URL.
To change the style of the button, click on the Style tab on the left panel. Here you can change the text color, typography, background color, border, border radius, and box shadow of the button. You can also change the hover color and hover animation of the button.
These are just some of the basic widgets that you can use for your website. There are hundreds of widgets available for you to explore and customize. Have fun creating your website with widgets!
To find more tutorials you can check out the elementor youtube page here