800-827-5167     Mansfield, Pennsylvania      web.team@kingdom.com

Kingdom Websites

Unite Slider Fit

Change Your Image Fit in Unite Slider Open your rotator slide list. Click the green “Edit Slide” button to the left of the image you need to edit. Look to the right and select “SLIDE BACKGROUND” Select the BACKGROUND FIT area: Change the selector from “Cover” to: “CONTAIN” – will proportionately resize image ot fit into the […]

Unpublish A Menu Item

Unpublish A Menu Item Unpublishing a menu item will remove the item from the live site. Click MENUS > MAIN MENU From the list of menu items, find the item you’d like to unpublish Click the GREEN CHECK-MARK to the left of the item title The green check-mark will change to a RED CIRCLE, indicating […]

Add An Image to Jevent Description

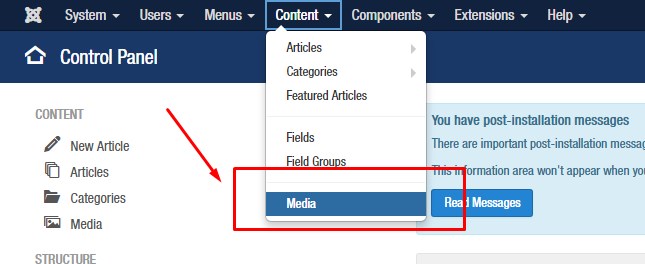
Add An Image To An Event Description Inside JEvents This is a two step process. STEP ONE: UPLOAD YOUR DESIRED IMAGE TO THE MEDIA MANAGER Once logged in to the back-end of your website- Click “Content” Click “Media” Click the green “Upload” button in the upper left hand corner Upload your image file. STEP TWO: ADD YOUR […]

Videos PreachIt

Add A Video Message Using Your PreachIt Component   Link To A Video in YouTube Inside Your PreachIt Component TO LINK TO A YOUTUBE VIDEO: Click on the Video Tab – select the player as YouTube Video link: Click SELECT On the File Manager pop up box, click the “Link To” tab Paste the portion of […]

Mobile Responsive Tables

Create Mobile Responsive Tables in an Article or Module  Click the table button, and select your cell and column size Insert Click “table properties” Set the table width to 100% (the percent is the important part) Now set each top cell width to the proportionate percentage, so that the total width of all cells equal […]

Particle Overview

An Overview of Common Particles  LOGO/IMAGE PARTICLE Label Information URL Links your image to a specific URL. If you leave this blank, it will link to the home page automatically Image This is where you set the image you’d like to display inside this particle SVG Code If you are using SVG code instead of […]

Add New Particles

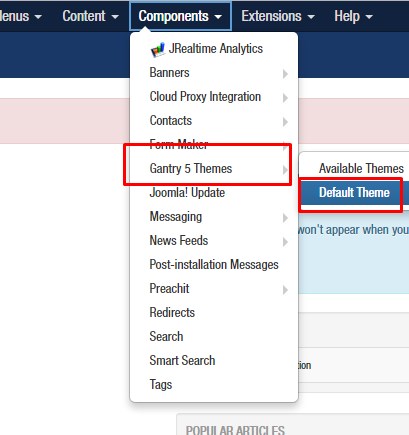
Add New Particles to Your Home Page Using the Gantry 5 Component You have the ability to add, remove, and/or reposition all of the elements on your Expert Package home page.  Screenshot and image information is for reference only and may not reflect exactly what you see inside your website Click “Components” Hover on “Gantry 5 Themes” […]

Viewing your Form Responses

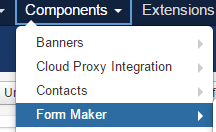
Viewing your Form Responses on Your Website STEP ONE: Locate your form Once logged in to the back-end of your site: Click “Components” Click “Form Maker” Click “Submissions” Your screen will now display a list of responses from people who have used your form. You can click on the ID number for each form for additional […]

Selling and Taxes JC

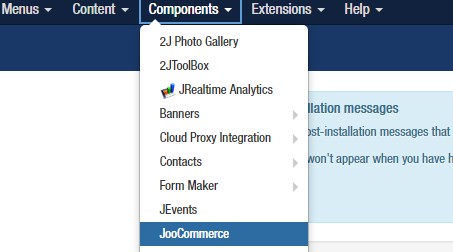
Change Your Selling & Tax Information Click “Components” Click “JooCommerce” Click “Settings” from the left side navigation Click the “Selling and Taxes” Tab From here, you will adjust your selling and tax options. If you are charging tax that will not be already included in the price, you will need to set the tax per percentage […]

Linking Slides in Unite Slider

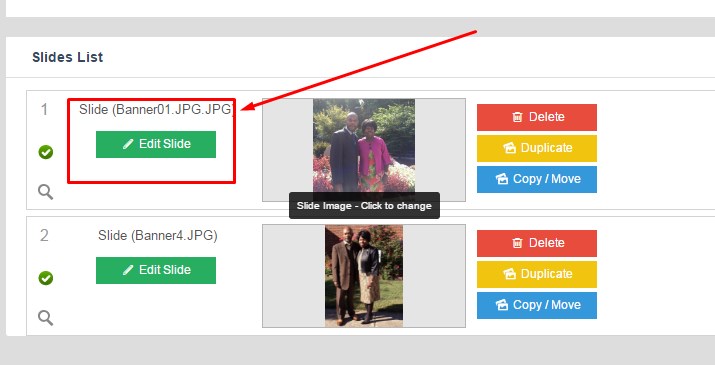
Linking Slides using Unite Slider From the slides list, click the green “Edit Slide” button to the left of the image you wish to place a text layer over Select “Slide Link” Set Enable Link: to “Enable” Add your URL in the Slide Link box   Be sure you click the green “Save” button in […]

Add Text Layer to Your Slide

Add Text Layers to Your Slide From the slides list, click the green “Edit Slide” button to the left of the image you wish to place a text layer over On the next screen, click the “Add Layer” drop-down Select “Text Layer” Add your desired text in the text box to the right Click and […]

Unite Slider

Add Images to your Unite Slider Component Click “Components” Click “Unite Slider” at the bottom of the list Click the blue “Edit Slides” button to the right Click blue “New Slide” in bottom left corner to add a new photo to your rotator TO DELETE simply click red “Delete” button next to slide you wish […]

Set Your MK Countdown Timer

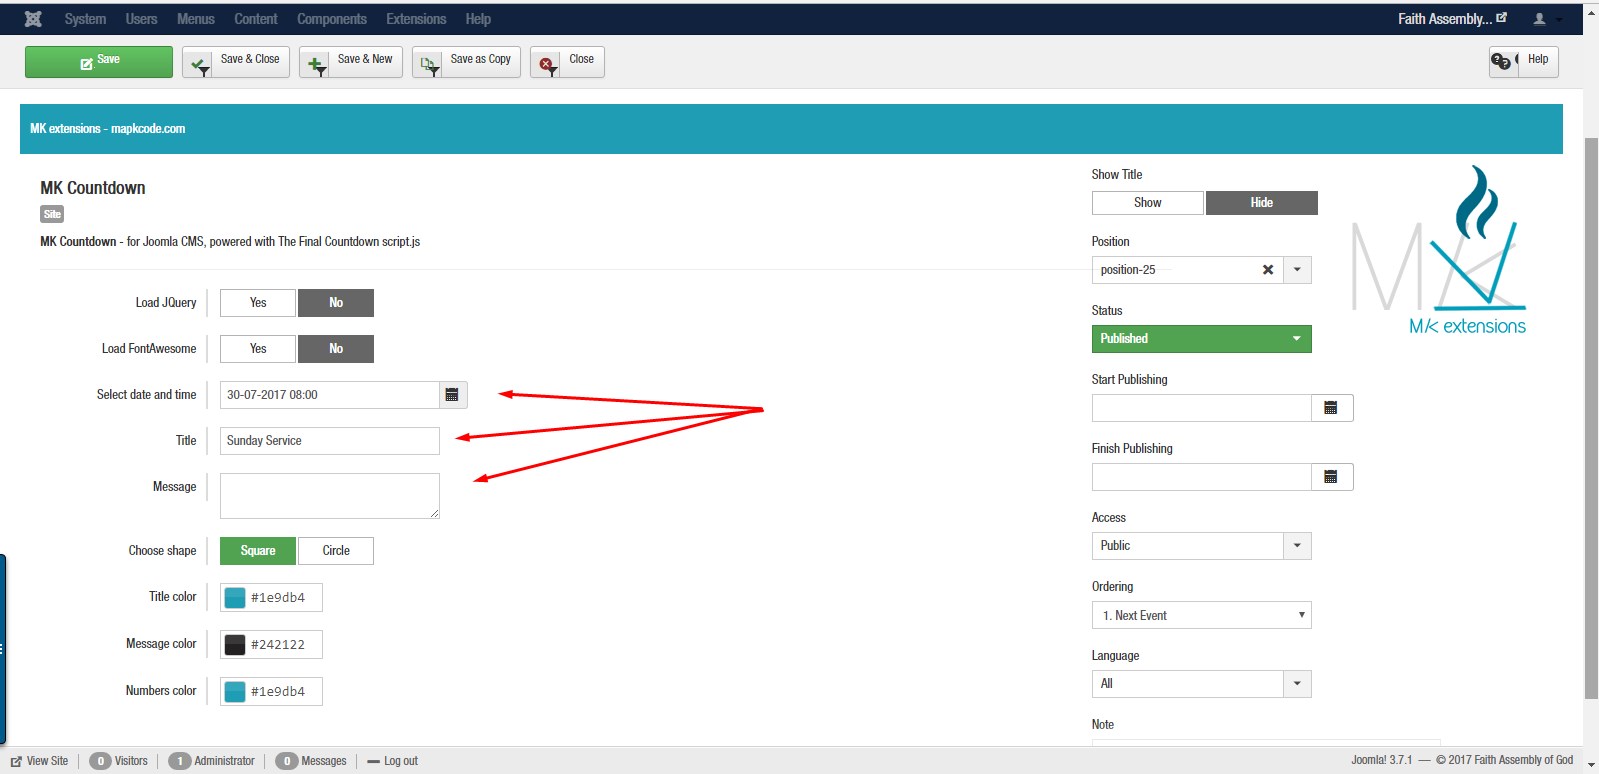
Set Your MK Timer Countdown Click “Extensions” Click “Modules” Find the module for your countdown in the list, and click the title From here, you can set the date for your event, add a title to the countdown, and even add a message to pair with the countdown timer You can change the coloring and […]

Using Joomla Video Player

Add a Video in an Article (without YouTube) This is a two-step process. Your video file must be in .mp4 format, 400MB or less in size.   STEP ONE: UPLOAD YOUR VIDEO Click “Content” Click “Media” Click the green “Upload” button in the upper left hand corner. Choose File and open your mp4 video. Click […]

Unite Slider Image Fit

Change Your Image Fit in Unite Slider Open your rotator slide list. Click the green “Edit Slide” button to the left of the image you need to edit. Scroll down until you see the “Background Fit” area. Change the selector from “Cover” to: “CONTAIN” – will proportionately resize image ot fit into the rotator container. […]

JooCommerce-17-stripe

Click “Components” Click “JooCommerce” From the left hand navigation, click “Settings” Click the “Payment” tab Click the blue “Edit Settings” button to the right of Stripe Make sure the Status is “Enabled” Enter your Stripe information Click the green “Save” button on the bottom right of that box. Finish by clicking the green “Save” button in the […]

JooCommerce-17-payment

Add Your PayPal Information    Click “Components” Click “JooCommerce” From the left hand navigation, click “Settings”   Click the “Payment” tab Click the blue “Edit Settings” button to the right of PayPal   Make sure the Status is “Enabled” Enter your PayPal account email address Click the green “Save” button on the bottom right of […]

Linking Slides

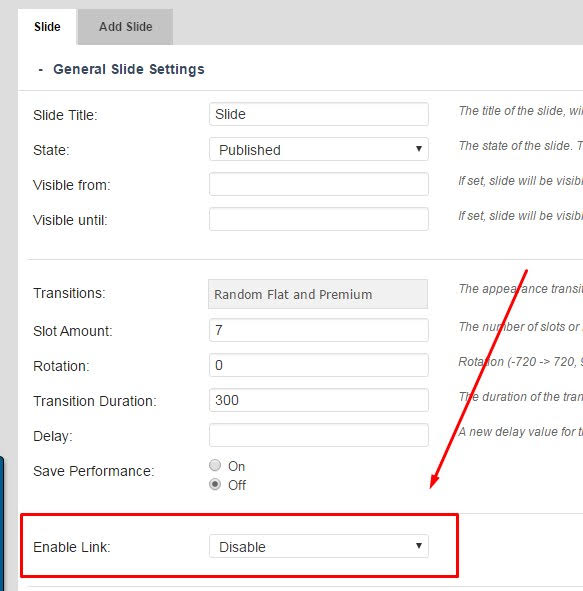
Placing a Hyperlink on a Slide using Unite Revolution Slider 2     To link a slide, you will access your Unite Revolution Slider 2 Slides List.   To the left of each slide, you will see a green “edit” button.   Click the “edit” button for whatever slide you wish to hyperlink.   Scroll down until you see “Enable Link: Disabled” field   […]

Scroll to top